Technique paper 冬 · Winter
Trunk chopping and leader selection: building taper in segments
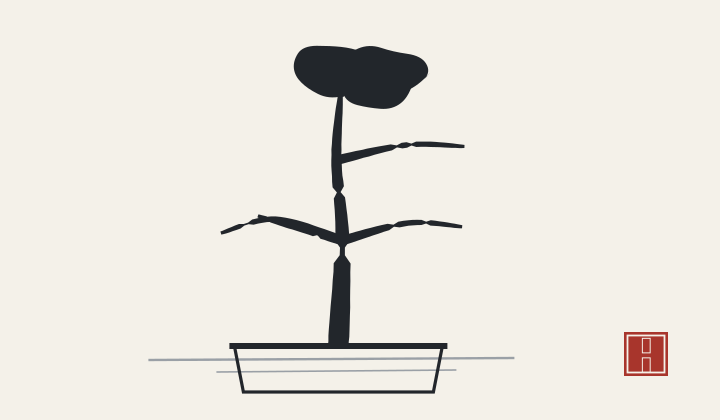
- Season
- Late winter, while the tree is bare and the structure is visible
- Risk level
- Medium — a wrong leader choice costs three years, not the tree
- Steps
- 6
- Cut height
- Roughly one third of the intended final height
- Taper gained
- Each chop-and-regrow cycle adds one segment of taper in 3 to 5 years
Cultivation record
Tools
- Fine-toothed pruning saw
- Concave cutters
- Cut paste
- A chopstick or small stake for marking the chosen leader
Risk level:Medium risk · 6 steps
A trunk with real taper is not grown, it is assembled — one segment at a time, each one thinner than the last, with a change of direction at every junction. Trunk chopping is the method, and leader selection is the decision that determines whether the next three years produce taper or a kink.
Why chop to a third and not to a half
Taper is a ratio: the trunk should be roughly twice as thick at the base as it is at the first branch, and each segment above that should reduce again. If you chop at half the final height, you have only one more segment to work with and the finished trunk will be a cone rather than a taper. Chopping at about a third gives at least two more chop-and-regrow cycles, each adding a segment, and each cycle adds interest because the direction of the trunk changes at the junction. On a tree destined for 45 cm, that means the first chop is at 15 cm.
Choosing the leader: three criteria, in order
First, direction: the shoot must already point where the trunk should go, because a leader that has to be bent into position will leave a straight section and then a curve, which reads as a fault. Second, vigour: the thickest of the candidate shoots will grow fastest and close the wound soonest. Third, height on the trunk: the lowest suitable shoot gives the best taper ratio above the chop. When these three conflict — and they often do — direction wins, because a wrong direction is permanent and slow growth is temporary.
The wound, and where it should end up
The chop wound will take three to six years to close on a vigorous deciduous tree, and it will always be visible as a change in bark texture. That is why the chop is planned so the wound faces away from the front. Where a chop has to be on the visible side, the wound is made as small as possible by cutting close to the chosen shoot, and the resulting scar is used to suggest age rather than hidden. Cut paste is applied to the rim of the wound, where the callus will form, and not over the whole face.
The unchecked season, and why it matters
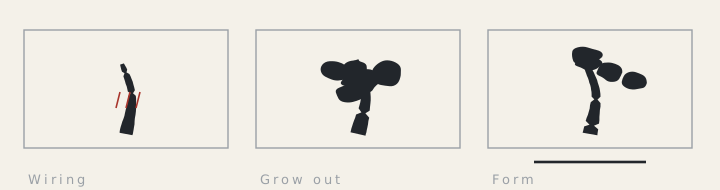
The single most common mistake after a chop is to start wiring and pruning the new leader in its first season. That season is the one in which the leader has to (a) grow tall enough to add girth to the section below it and (b) begin closing the wound. Cutting it back or wiring it in year one slows both. The rule here is one full season completely unchecked, then the first selection of side shoots in the following winter, and only then the next chop when the new section has reached the target thickness.
Steps in order
- Decide the intended final height and multiply by 0.33; that is where the saw goes.
- Look at the shoots below the cut and pick the one that is closest to vertical, thickest, and lowest on the trunk.
- Cut with a fine saw at a slight angle away from the chosen shoot, leaving a 4 to 6 mm stub above it.
- Tidy the cut face with concave cutters so the wound is a shallow oval rather than a flat plane.
- Apply cut paste to the wound edge, not the centre, and leave the centre open to dry.
- Let the new leader run completely unchecked for a full season before wiring or pruning anything on it.
What to remember
- Chop at roughly one third of the intended final height, not a half.
- Pick the leader on direction first, then vigour, then height on the trunk.
- Plan every chop so the scar ends up on the back of the finished tree.
- Leave the new leader completely unchecked for one full growing season.
Note Growing notes are provided for general information only. Trunk chopping requires a vigorous tree; on a weak or newly collected specimen it can be fatal.